
This plugin is an element for Elementor Website Builder. To use it you need to add the Elementor plugin to your WordPress website. If you already have Elementor installed you can skip the next step.
How to install Elementor Website Builder?
- From the WordPress Dashboard, click Plugins > Add New.
- In the Search field, enter Elementor and choose Elementor Website Builder to install.
- After installation, click Activate.
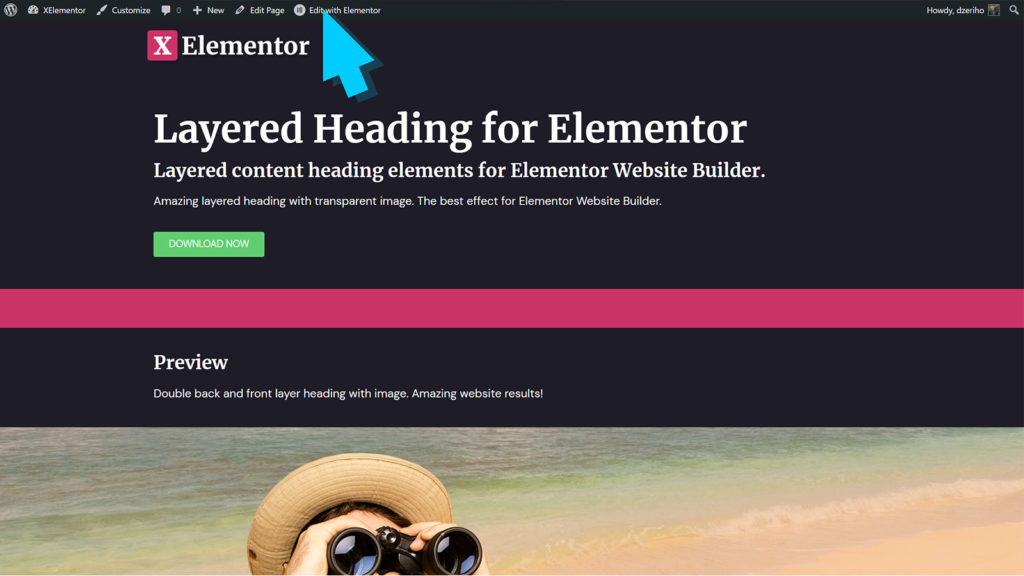
The Elementor Website Builder is now installed! To edit a page with the new builder click the Edit with Elementor button.
How to install Layered Heading for Elementor?
- Download the .ZIP archive from Envato Market or Envato Elements.
- Unzip it, and inside you will find Plugin/ folder.
- Inside this folder is the installable plugin .ZIP archive.
- Go to your WordPress Dashboard.
- From the WordPress Dashboard, click Plugins > Add New.
- In the top right corner, click Upload Plugin.
- Now click the Choose File button and select the .ZIP archive from the Plugin/ folder.
- Click Install Now button.
- After installation, click Activate.
The add-on is now installed! To edit a page with Elementor click the Edit with Elementor button.
How to use Layered Heading for Elementor?
When editing a page with Elementor, use the Search Widget field to find easy the Layered Heading element.
Drag and drop the element into canvas for it to appear. A set of controls on the left, in Elementor sidebar is available.
General
- Image – Set the image that will appear between headings.
- Width – Set image width.
- Link – To make a link from this heading, use Link option. Enter URL and the heading will link to it. Use standard Elementor URL controls for links for extra options.
Back Heading
- Heading – Edit back heading text. This text will appear behind the image.
- HTML Tag – Select which HTML tag to use with the header element.
- Offset X – To adjust heading X position use this setting.
- Offset Y – To adjust heading Y position use this setting.
- Width – Control heading width with this setting.
Front Heading
- Heading – Edit front heading text. This text will appear in front of the image.
- HTML Tag – Select which HTML tag to use with the header element.
- Offset X – To adjust heading X position use this setting.
- Offset Y – To adjust heading Y position use this setting.
- Width – Control heading width with this setting.


Style Tab
The Style tab lets you customize element appearance. Style options are split into two sections.
- Back Heading – With these settings we can customize the back heading fonts, styles, sizes, color, box shadow and more.
- Front Heading – With these settings we can customize the front heading fonts, styles, sizes, color, box shadow and more.

Where to get support?
Codecanyon purchases receive 6 months of premium support. If you need help using the element, please visit our Codecanyon item page here and submit your request.
Thank you for using the Layered Heading for Elementor plugin by XElementor!